

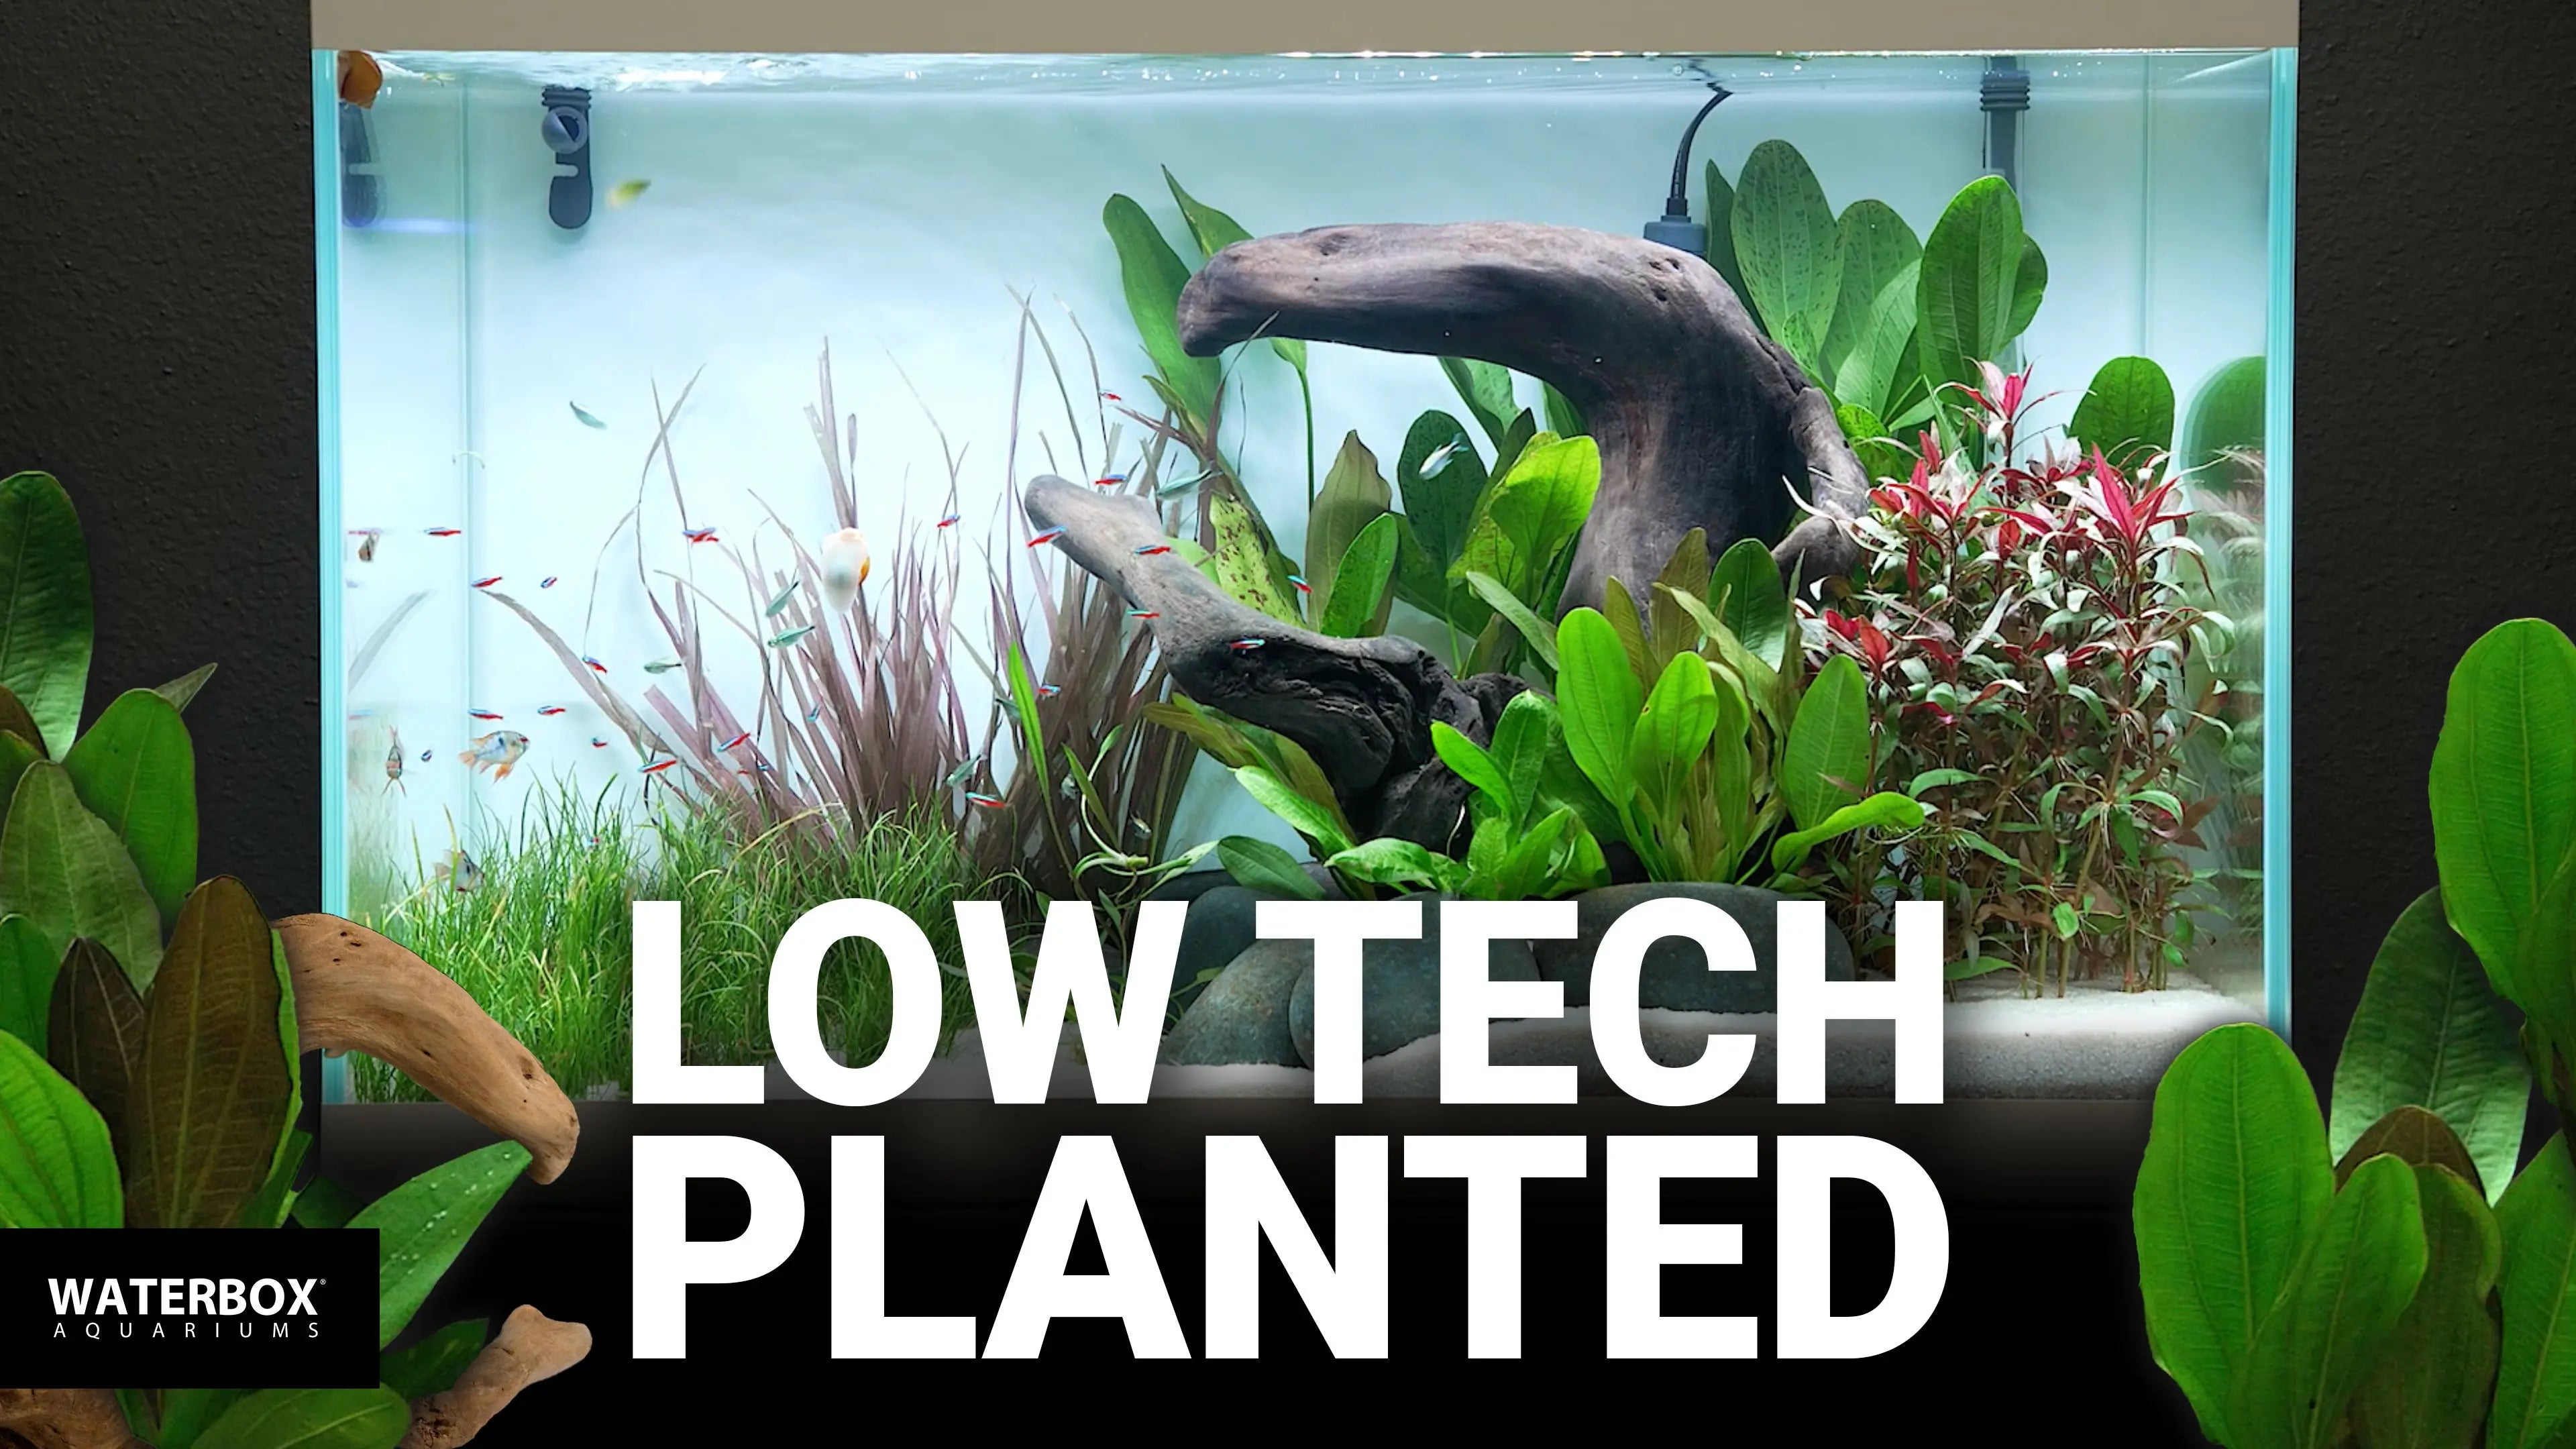
Low-tech planted aquariums are an easy way to experience the beautiful world of freshwater. The term “low-tech” means the use of plants that are low-maintenance, adaptable to various conditions and lighting levels, and don’t rely on a CO2 system to flourish.
For this set up, we are using the Waterbox Aquariums Eden 40 complete, this includes the aquarium, glass lids, cabinet, freshwater LED light, and canister filter. The only additional equipment you would need is a heater.
When setting up a new aquarium, you want to be sure that it is level. Using a level, check side to side and front to back and make any adjustments needed before filling the aquarium. It is also a good idea to check the level as you begin to fill an aquarium with water in case of any settling of the floor underneath it and make adjustments.
Depending on the type of substrate you choose to use it may need to be rinsed before use to remove fine particles which will cloud the aquarium and quickly clog your filter. We are using CaribSea Super Naturals Aquascapes Crystal River which does require rinsing.
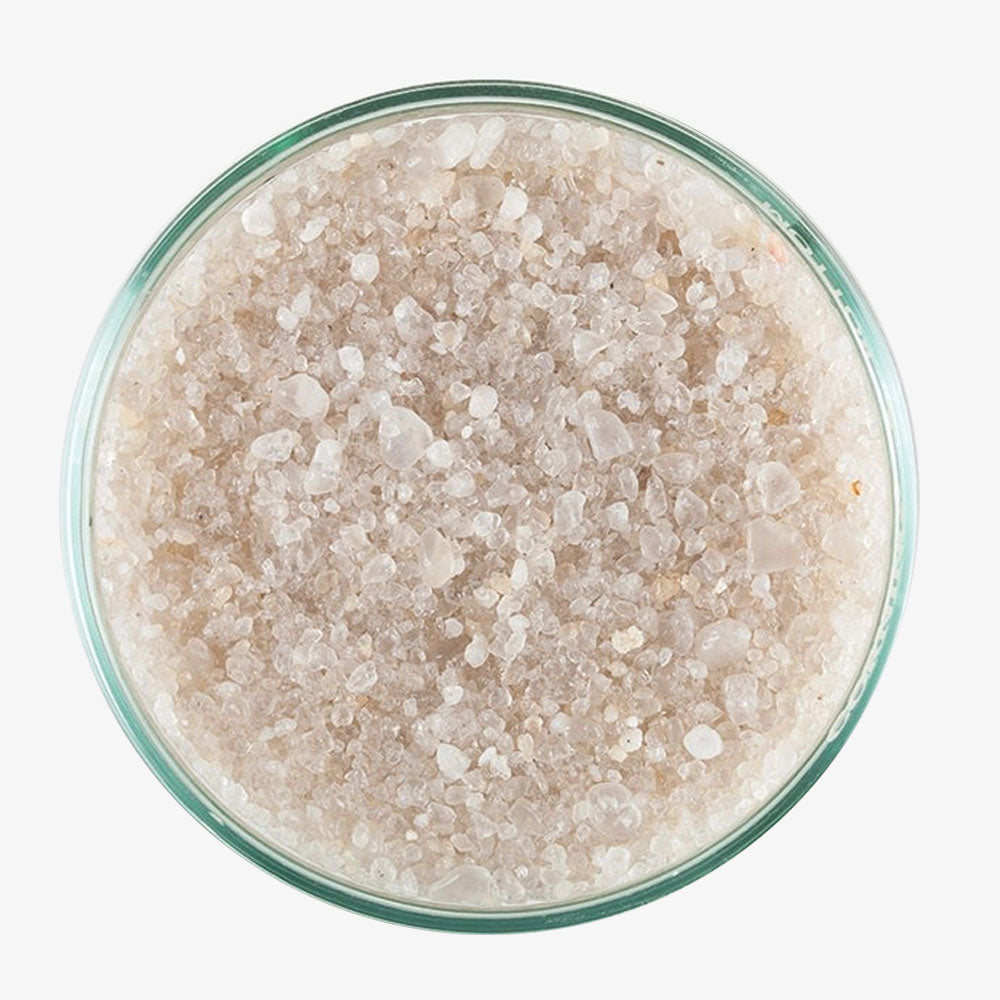
There are a few considerations to take into account when choosing what type of substrate you want to use. You can use anything from fine sand up to larger gravel. The type of plants and fish you plan to keep may affect this choice. If planning to keep fine root plants or fish that are bottom dwellers a sand or small grain substrate is best.
The other thing to consider is if you want to use a substrate that is meant for planted aquariums and has nutrients in the substrate. This will narrow down your options of the type of substrate but has the benefit of providing fertilizer to your plants from day one.
Using a substrate like sand will not offer any fertilizer to the plants so the use of root tabs will be necessary. With either type of substrate, you should dose your planted aquarium with a carbon source like Waterbox Aquariums Carbon+ for the best growth and color.
There are many types of wood to choose from for your aquarium – don’t become overwhelmed with the options available. Decide based on how you envision the setup of your aquarium looking and the space you have. We used a very simple piece of driftwood attached to a slate piece to keep it weighed down.
Arrange the wood in the aquarium to determine the focal point for your design. This will help you visualize and assess how the substrate and plants will be laid out around the wood.
Start adding the substrate to the aquarium, if there is an area that is going to be elevated higher start to build that up now. Smooth it out as you go to make sure you have the desired levels needed for your scape and to ensure it is deep enough for the plant roots.
After adding the substrate to the aquarium, begin arranging the rocks for your aquascape. For this setup, we've chosen CaribSea Black River Rock to create a striking contrast against the white sand and background.
Using rocks will form elevated areas in your aquarium, adding height and depth by creating different levels. After placing the rocks, add additional substrate to fill in the newly formed levels.
Adding some water to the aquarium will allow an easier process of planting smaller, foreground plants. When using tap water be sure to use a water condition like Waterbox Aquariums Conditioner to remove chlorine and heavy metals which are harmful to fish, invertebrates, and plants.
For potted plants, it's important to remove both the plastic pot and the growing medium. Keeping them confined can restrict growth and hinder the spread of plants. Potted plants are typically in rock wool, which can be easily detached. Gently separate the rock wool from the roots, ensuring most of it is removed before placing the plant in the aquarium.
To begin, I prefer placing the foreground plants first, ensuring there's ample space between them for spreading and growth. Our primary foreground plant is the narrow leaf micro sword, chosen for its ability to create a lush, grass-like look.
Numerous options exist for simple foreground plants, including dwarf sagittaria, various cryptocoryne species, and monte carlo. Trimming is typically required to keep the shorter height.
Once the foreground plants are in place start adding the next tallest set of plants and continue to add in size order. Placing midground plants in the center of the aquarium and positioning the tallest background plants at the rear will enhance the aquarium's depth perception.
We used a mix of cryptocoryne and sword plants as they are easy to care for and will fill the aquarium nicely. When using sturdy stemmed plants, you can plant them mostly out of water and then fill the aquarium once everything is in place.
Once the aquarium is full of water, install and turn on your filtration. We use and recommend the Sicce Space EKO canister filters. For the Eden 40 we are using the Sicce Space EKO 300.
When you are preparing to add fish to your new aquarium make sure to use a bacteria supplement like Waterbox Aquarium Starter Bacteria to ensure build up the proper beneficial bacteria in the system. You will still want to monitor the water quality regularly to ensure there is no ammonia or nitrite spike.
To introduce new fish to your aquarium with minimal stress, it's crucial to acclimate them. This process enables the fish to adapt to the specific water conditions of your tank, including factors like temperature, pH levels, and water hardness. This process is very simple and all you need is a bucket or bin and some airline tubing.
For this community aquarium a few schools of tetras and bottom dwelling fish will provide a lot of color and movement.
Transfer all the fish to the container and add water conditioner to help alleviate stress. Begin a siphon from one end of the airline tubing in the aquarium and secure a knot at the other end to control the drip into the fish container.
Adjust the knot as needed to manage the drip rate. You want to acclimate for about 30 to 45 minutes, doubling the water volume in the container.
Add the fish to the aquarium once acclimated. Make sure to continue to dose the starter bacteria for the first two weeks and test your water regularly for ammonia and nitrite.
Share:
Coral Feeding Tips: How to feed your corals in a reef aquarium
High Tech Aquascaping your dream aquarium A-Z Walkthrough